Emulators on iPhone: Delta, ROMs and Getting Started
The complete beginner setup for emulating retro consoles on your iPhone with Delta — install, side-load-free on the App Store, import ROMs and play.
iPhone emulation used to mean jailbreaks and computer apps. These days Delta is on the App Store and runs Game Boy, NES, SNES, GBA and more. Here’s the whole setup, properly.
What is Delta?
Delta is a free Nintendo emulator for iOS (by Riley Testut). It covers Game Boy / Game Boy Color / Game Boy Advance, NES, SNES and N64, with save states, cheat support, fast-forward and controller support (including wireless).
Because it’s on the App Store now, you can install it the normal way — no AltStore or computer needed for most people.
Step 1 — Install Delta
- Open the App Store on your iPhone.
- Search “Delta emulator” — it’s made by Riley Testut.
- Tap Get and install.
Historically Delta was sideloaded via AltStore because the App Store banned emulators. Apple relaxed these rules in 2024, so the App Store version is the easiest path. If you can’t find it in your region’s App Store, AltStore (altstore.io) is the older method — still works, just requires a computer and Apple ID.
Step 2 — Get your ROMs
Delta can’t download games for you — you provide the game files (ROMs) yourself,
legally. You need .gb, .gbc, .gba, .nes, .snes or .n64 files,
depending on the console.
For games you own on cartridge, you can dump them yourself with a cartridge reader. Otherwise only use ROMs of games you legitimately own.
Step 3 — Import ROMs to Delta
Delta pulls games from three places:
- Files app — save ROMs anywhere in Files (iCloud Drive, On My iPhone).
- Other apps — open a ROM in a mail attachment or a download and choose “Open with Delta”.
- In Delta’s file picker — Delta has its own file browser that only sees files in its own folder; move ROMs there from Files.
The quickest real-world flow:
- Put your ROMs in Files → On My iPhone (or iCloud Drive) in a folder
called
ROMs. - Open Delta → Settings → File Server (or use “Import” via the file picker) → browse to the folder → select the ROMs.
- They appear in Delta’s library, tagged by console.
iCloud Drive tip: you can import once and they stay synced. If you “delete” a file from Delta’s library it doesn’t delete your original ROM file.
Step 4 — Play
- Tap a game in the library.
- If it’s a GBA/GBC/GB title, the touchscreen controls are there automatically.
- Save states: swipe the top or bottom, or use the menu — these let you save/load anywhere, which is the biggest single advantage over original hardware.
- Menu (gear/stack icon) gives you settings, cheats, and the option to connect a controller (Nintendo Switch Pro, Xbox, PlayStation controllers all pair via Bluetooth).
Step 5 — Make it yours
- Border/skin: Delta has a built-in controller skin configurator — pick a Game Boy-style border or a custom layout.
- Controller: Settings → Controller Skin → pick a controller type.
- Per-game settings: tap and hold a game’s icon → Game Settings → tweak button mapping, cheat codes, video filters and more.
Troubleshooting
- ROM won’t load — make sure the file extension matches the console
(
.gbfor Game Boy,.gbcfor Color,.gbafor Advance). Some archives extract to oddly named files. - No sound — check the mute switch and Delta’s audio settings; sometimes the ringer switch mutes emulator audio.
- Games wonky in landscape — per-game settings → Controller Skin / layout.
- N64 controls — the touch layout for N64 is cramped; a controller is strongly recommended for N64/DS titles.
That’s the full Delta setup. The same ROMs, arranged properly, work on Android too — see the Android emulation guide on this site.
$ ./shop-this-guide
Built, tested and ready to go on this site.
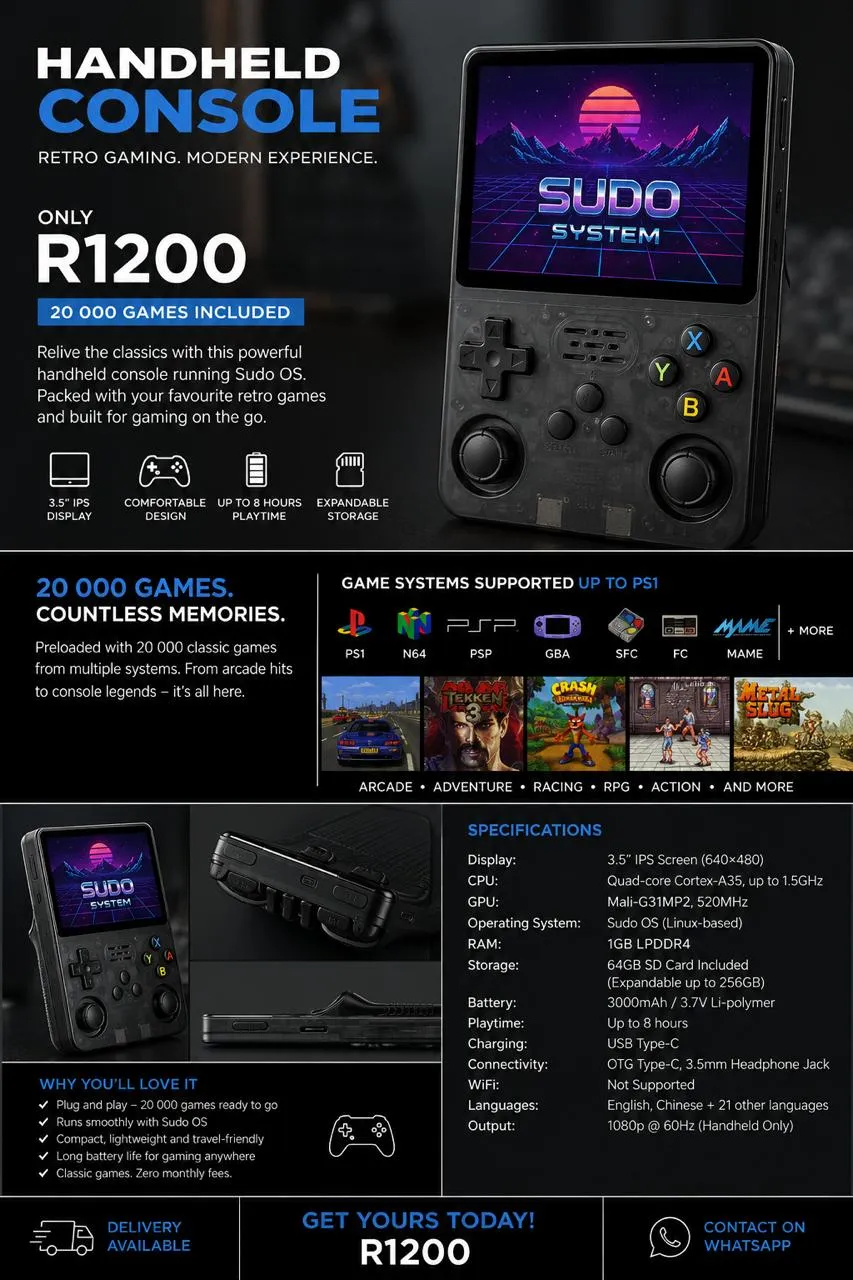 Made to order
SudoOS Handheld — Vertical
Hand-built vertical console with SudoOS — free games card included
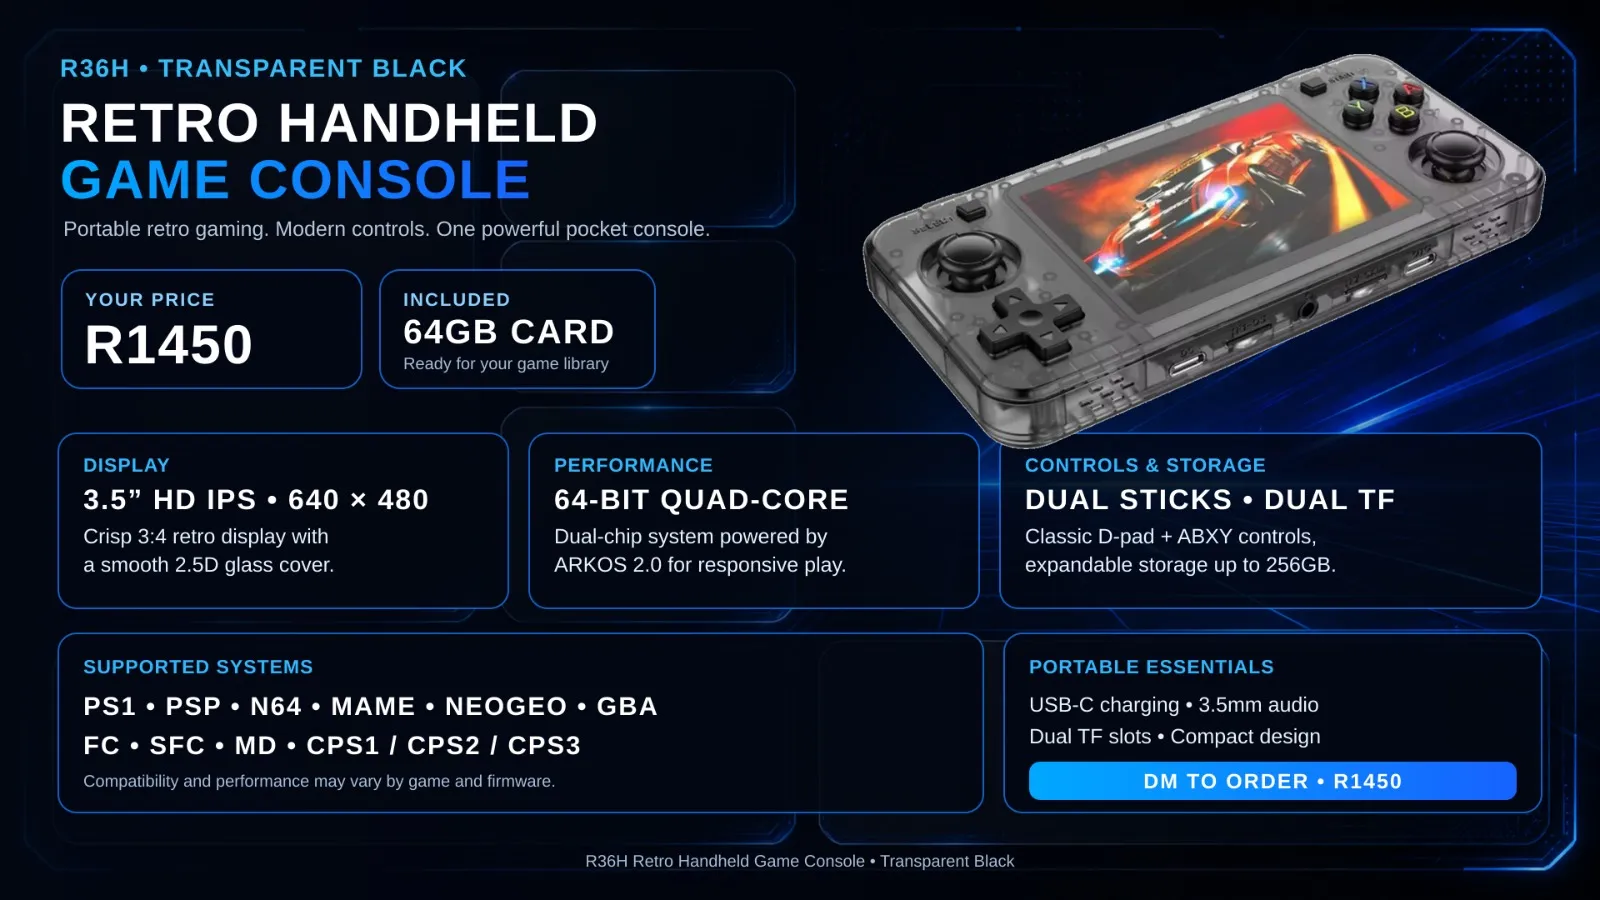 Made to order
SudoOS Handheld — Horizontal
Hand-built horizontal console with SudoOS — free games card included
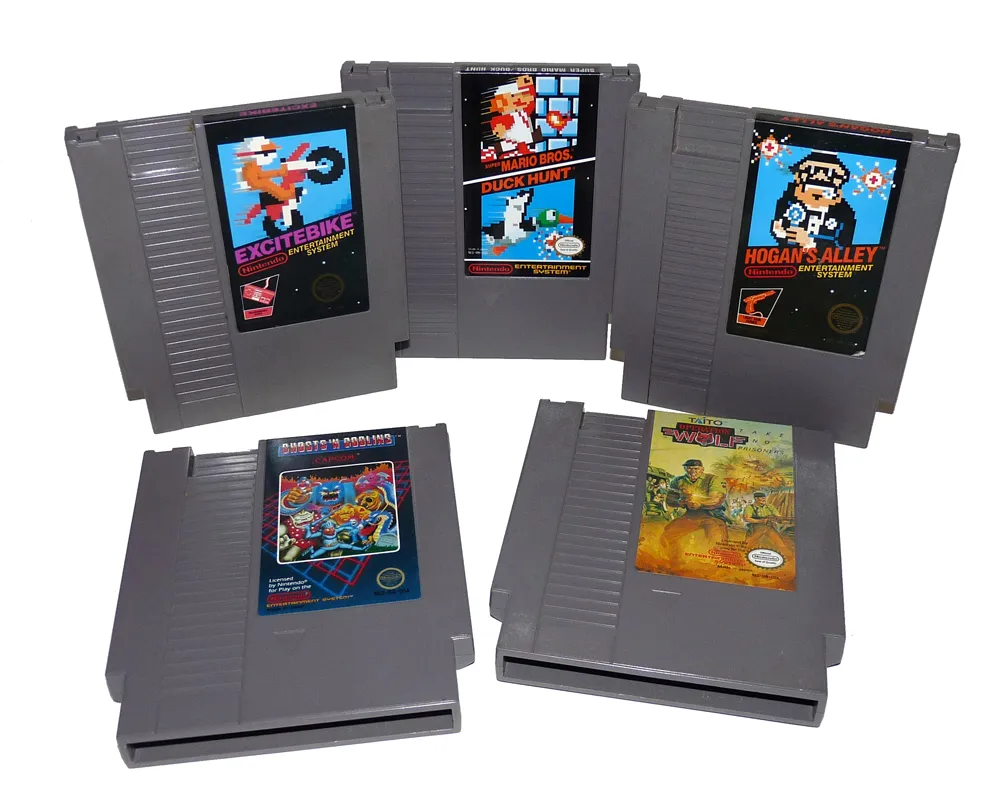 In stock
SudoOS SD Card
A games card for your handheld, ready to boot
$ ./read-next
Emulators on Android: Pick the Right One and Set It Up
How to set up retro emulation on Android with the best-looking, easiest-to-use apps — RetroArch for everything, plus the quickest per-console options.
intermediateBuild a Batocera Console: EmulationStation on a Drive, Boot Any PC
Turn a USB flash drive or hard drive into a retro console with Batocera — flash it, add your ROMs, boot it on any laptop or PC, and theme it properly.
intermediatePokémon in 3D on Android: Gen1Recomp + VoxelMod
Play Pokémon Red, Blue and Yellow natively in 3D on Android with Gen1Recomp — import your ROM, add the VoxelMod, and get the 3D camera working.