Build a Batocera Console: EmulationStation on a Drive, Boot Any PC
Turn a USB flash drive or hard drive into a retro console with Batocera — flash it, add your ROMs, boot it on any laptop or PC, and theme it properly.
Batocera is a Linux distribution made specifically for retro gaming. You flash it to a USB stick or hard drive, plug it into almost any PC or laptop, and it boots straight into EmulationStation — a console that just works, with no Windows, no setup, and your game collection on the same drive. This guide does it properly, from blank drive to themed, scraped, controller-ready rig.
What you need
- A USB flash drive or external hard drive (16GB+ for a basic setup; 64GB+ if you want a real library alongside the OS)
- A PC or laptop that can boot from USB (any Intel/AMD x64 machine from the last ~12 years)
- A spare PC or your main one to write the image initially
- A controller (wired or wireless) — strongly recommended but not required for the first boot
- Your ROMs (and BIOS files for systems that need them, chiefly PS1)
Drive sizing matters. A 16GB stick fits the OS but leaves almost no room for games. Use the biggest drive you’ve got — you can always add ROMs later, but you can’t shrink Batocera’s partition.
Step 1 — Download Batocera
- Go to batocera.org → Download.
- Pick your platform — for “boot it on laptops/PCs” choose x86 64-bit (that’s standard AMD/Intel hardware).
- Download the
.imgfile. It’s a few GB, so give it time.
Step 2 — Flash it to the drive
Windows:
- Install balenaEtcher (or use Rufus — both free).
- Choose the Batocera
.img→ choose your USB drive/hard drive → Flash! - Crucial: the flash wipes the drive. Double-check you picked the right one.
Linux / macOS: use dd from the terminal once you’ve confirmed the device
with lsblk:
sudo dd if=batocera.img of=/dev/sdX bs=4M status=progress conv=fsyncAfter flashing, Batocera splits the drive: a boot partition, a system
partition, and a share partition (shown as BATOCERA on desktop OSes)
where your ROMs, BIOS files, themes and saves all live.
Step 3 — First boot
- Plug the drive into the target PC/laptop.
- It must boot from the drive: restart and press the one-time boot menu key (usually F11 on HP, F12 on Dell/Lenovo desktop, F9/esc on others — your splash screen shows it) and pick the USB/hard drive. If there is no boot menu, enter BIOS (Del/F2/F10), reorder boot devices to put the drive first, and save.
- Batocera boots into EmulationStation. First boot does first-run setup (language, controller detection if you have one plugged in).
No keyboard? Temporarily plug in a wired keyboard to make it through setup, then connect a controller.
Step 4 — Add your ROMs and BIOS files
With the drive still plugged into your main computer, or via Batocera’s network share (Settings → Network Services), you’ll see the share folder.
Structure:
share/
├── roms/
│   ├── gb/        ← .gb files
│   ├── gba/       ← .gba
│   ├── nes/       ← .nes
│   ├── snes/      ← .snes
│   └── psx/       ← .bin/.cue or .chd (PlayStation)
├── bios/          ← PS1 and other BIOS files
└── themes/- Copy each game into its correct
roms/<system>/folder (create a folder if it doesn’t exist). Match the extension to the emulator’s expectations —.gbfor Game Boy,.gbafor Advance,.nesfor NES, etc. - For PlayStation, you must put the PS1 BIOS into
bios/. If a game needs a BIOS, no BIOS = no boot.
Scraping: in EmulationStation, press the Start/Menu button → Game collection settings → Scrape → Scraper: ScreenScraper → scrape the whole collection. This downloads box art, videos and metadata into
share/so your library looks like a magazine. It needs internet and a free ScreenScraper account for a better quota.
Step 5 — Configure a controller
- Plug in a controller. On first boot Batocera asks you to configure it (press mappings as prompted). Xbox and most generic gamepads work plug-and- play too.
- Menu button: usually Start/Select — that’s how you reach the settings, save states and shutdown.
- Several controllers can be mapped; add them from Controllers settings → Add a controller.
- Wired beats wireless for reliability at first. Bluetooth pairing happens in Batocera’s Controllers → Bluetooth menu.
Step 6 — Themes
Themes make it yours. EmulationStation’s default is clean, but the theme scene is huge.
- Download a theme. Popular ones live on emulationstation-themes.com; search “Batocera themes” for packs. Themes range from CRT-revival to neon wheel layouts.
- Drop the theme’s folder (or
.zip— Batocera unzips it) intoshare/themes/. - In EmulationStation: Settings → Themes and pick it. Some themes are per-view (basic, detailed, video, wall) — try them to see which structure fits the look you want.
- Reorder/remove systems from the menu via Settings → Continue → Systems / Game collection settings if you only want certain consoles visible.
Bonus skills that make it feel like a console
- Save states: in-game, the controller’s hotkey + a shoulder button saves/loads anywhere.
- Netplay: Batocera supports online multiplayer for many cores (Settings → Network Services → enable).
- BIOS on USB stick: you can slim the OS install and keep a USB stick full of ROMs separate, mounting it in Batocera — but the single-drive setup is the “plug it in, it’s a console” dream and is what you want first.
- Safely shutdown: Settings → Quit → Shutdown system, or the hotkey combo, so the drive’s filesystem stays clean.
Troubleshooting
- “No bootable device” — the drive wasn’t selected in the boot menu, or Secure Boot is blocking it. Turn off Secure Boot in BIOS (weirdly the #1 fix) and try again.
- Won’t flash — either the image download was corrupt (re-download) or you chose the wrong platform image.
- PS1 games black-screen — missing BIOS. Add it to
share/bios/. - Controller not detected — try a wired one; then check Controllers settings.
- No room for games — you used a small drive. Flash a bigger one (no, there’s no way to grow the share partition later without losing data).
One drive, any x64 PC or laptop, a controller, and your whole retro library — that’s a Batocera console. This is genuinely one of the best “turn spare hardware into something awesome” projects you can do, and it’s the exact kind of thing the handhelds and SD cards on this site were built around.
$ ./shop-this-guide
Built, tested and ready to go on this site.
 Made to order
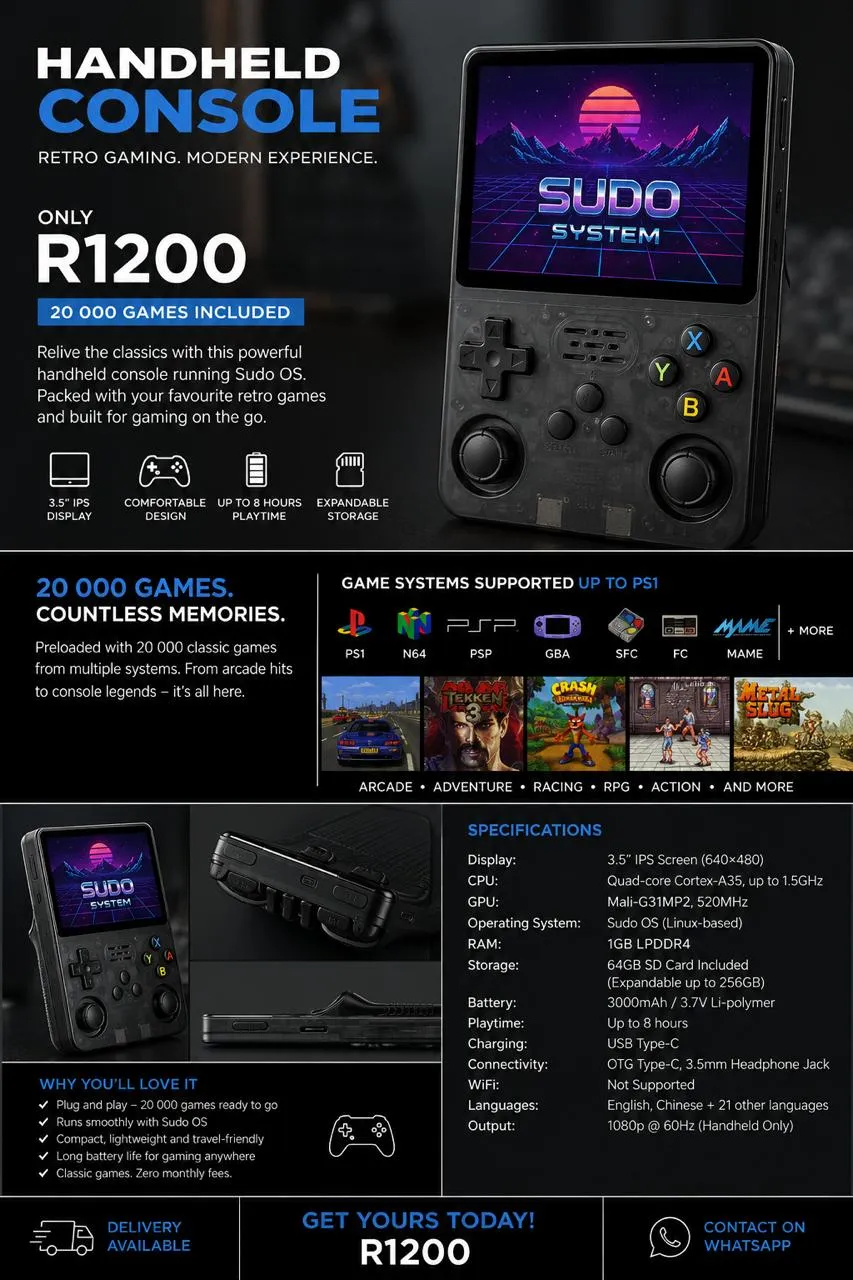
SudoOS Handheld — Vertical
Hand-built vertical console with SudoOS — free games card included
 Made to order
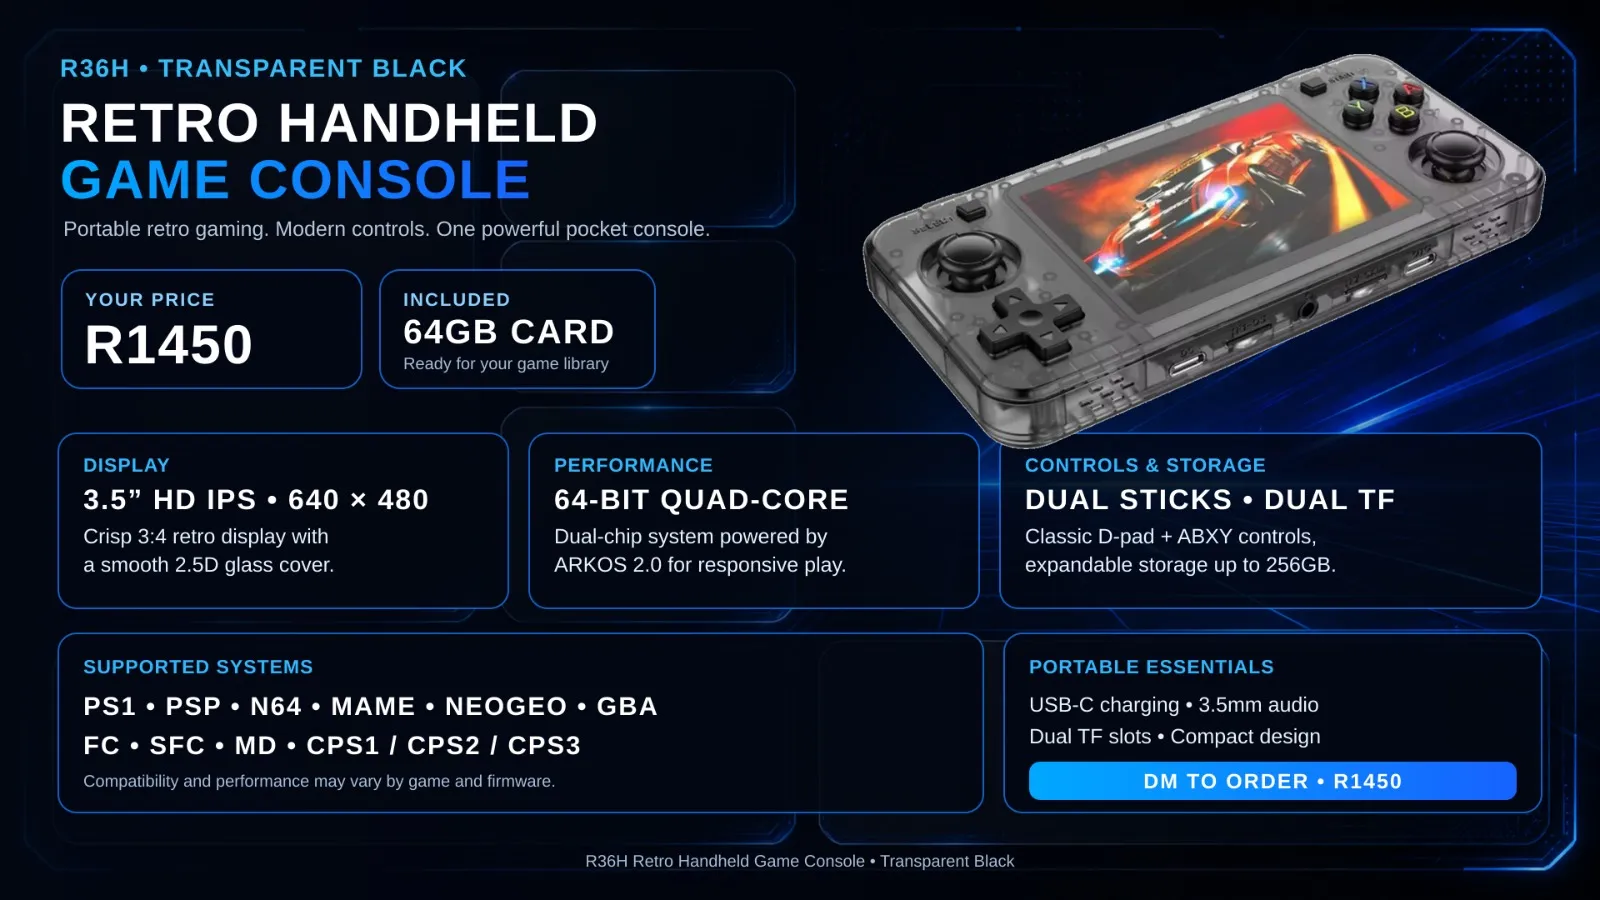
SudoOS Handheld — Horizontal
Hand-built horizontal console with SudoOS — free games card included
 In stock
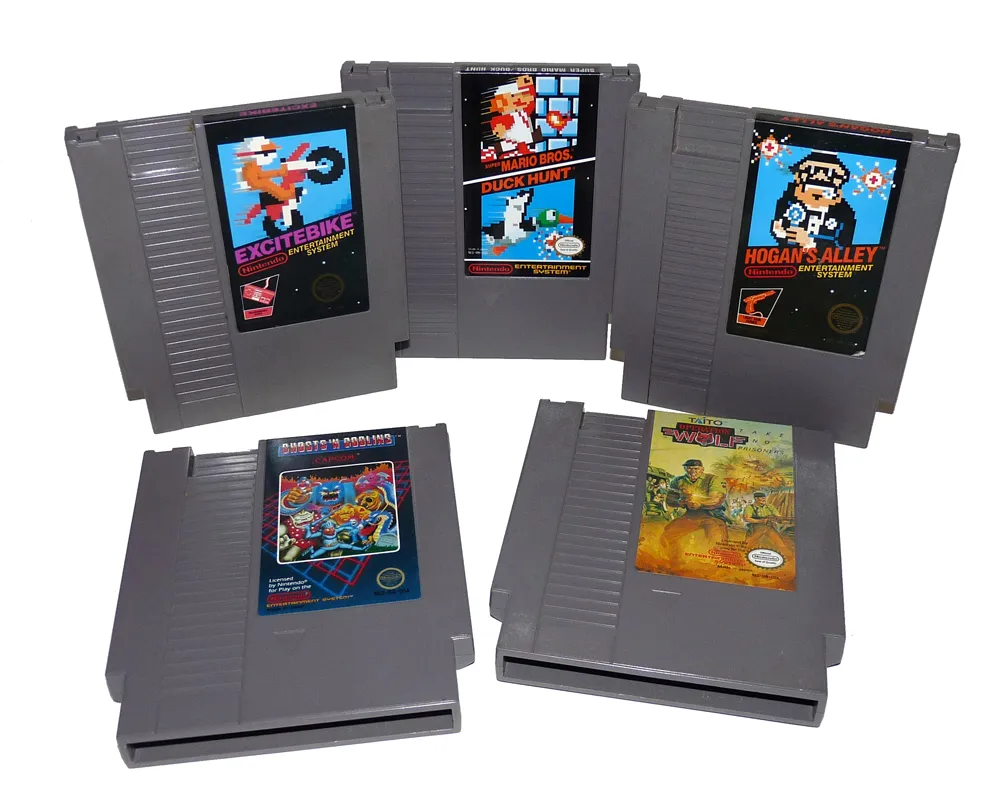
SudoOS SD Card
A games card for your handheld, ready to boot
$ ./read-next
Emulators on Android: Pick the Right One and Set It Up
How to set up retro emulation on Android with the best-looking, easiest-to-use apps — RetroArch for everything, plus the quickest per-console options.
beginnerEmulators on iPhone: Delta, ROMs and Getting Started
The complete beginner setup for emulating retro consoles on your iPhone with Delta — install, side-load-free on the App Store, import ROMs and play.
intermediatePokémon in 3D on Android: Gen1Recomp + VoxelMod
Play Pokémon Red, Blue and Yellow natively in 3D on Android with Gen1Recomp — import your ROM, add the VoxelMod, and get the 3D camera working.