Emulators on Android: Pick the Right One and Set It Up
How to set up retro emulation on Android with the best-looking, easiest-to-use apps — RetroArch for everything, plus the quickest per-console options.
Android is the best platform on earth for emulation, because it doesn’t restrict emulators the way iOS does. One app can handle almost every retro console. This guide gets the recommended setup going.
The short answer
- Want one app for everything + it looks great: RetroArch (free, from the Play Store or the RetroArch site). It’s the gold standard but the menu has a learning curve.
- Easiest per-console option: DuckStation (PlayStation), Pizza Boy (GB/GBC), My Boy!/Pizza Boy GBA (GBA), M64Plus FZ or the standalone ‘Lemuroid’.
- Best ‘just works’ all-in-one that looks clean: Lemuroid — prettier defaults than RetroArch, zero config, great if you just want to play.
My recommendation: use Lemuroid to start (it’s genuinely nice and easy to set up), and graduate to RetroArch once you want power-user features like shaders, netplay and per-system cores.
Option A — Lemuroid (easiest, best-looking defaults)
- Install Lemuroid from the Play Store.
- Open it — it asks for a folder of ROMs. Point it at wherever your games are
(Download folder or an SD card /
Android/datafolder). - Lemuroid auto-scans and groups games by console with box art.
- Tap a game. Done. Save states work like any modern emulator.
Covers GB/GBC/GBA, NES, SNES, Master System, Mega Drive, N64, PS1, PSP and more. Best choice for 90% of people.
Option B — RetroArch (everything, more power)
- Download RetroArch from the Play Store or the RetroArch site.
- Open it — the first-run screen is the Main Menu. You install “cores” (the emulator engines) per console.
- Go to Online Updater → Core Updater and pick a core:
- GB/GBC →
GambatteorSameBoy - GBA →
mGBA - NES →
Mesen - SNES →
Snes9x - PS1 →
Beetle PSX HW(needs PSX BIOS files) - N64 →
Mupen64Plus-Next
- GB/GBC →
- Load Content → Content Directory → pick a ROM file, or scan a folder to add your library.
- Save states: quick menu → Save State. Fast-forward is mapped to a hotkey.
The menu is dated and confusing at first. The two things that matter are the Core Updater (install cores) and Load Content (run games). Everything else is optional polish.
Need BIOS files? Some cores (PS1 primarily) require them. They’re small firmware files that come from the real consoles — you’re expected to provide your own (dumped from consoles you own). There’s a
systemfolder in RetroArch’s settings where they go.
Where to put ROMs on Android
Android folder access changed over the years. On modern Android (10+):
- If you have an SD card: put ROMs in a folder like
ROMs/on the SD card. - On internal storage, use
Android/data/<app>/OR grant the app “All files access” (Settings → special app access → All files access) and use any folder likeDownload/ROMs.
Give the emulator permission to see the folder and point it there; both Lemuroid and RetroArch will then index it.
Controller
Android emulators support Bluetooth controllers natively. Pair an Xbox, PlayStation or 8BitDo controller in Android’s Bluetooth settings, then start the game — it’ll recognise it. Touch controls are fine for GB/GBA but a pad transforms N64/PS1.
Troubleshooting
- Games show but won’t open — wrong core for the file type, or missing BIOS for PS1. Re-check the core list above.
- Box art missing — Lemuroid/RetroArch fetch art online; if you’re offline or it fails, they still work, just without covers.
- Saves vanish — check you’re using the emulator’s in-app “Save State” (not the game’s own save only) and that the app has storage permission.
Start with Lemuroid, get playing in ten minutes, and keep RetroArch in your back pocket for when you want the deep end.
$ ./shop-this-guide
Built, tested and ready to go on this site.
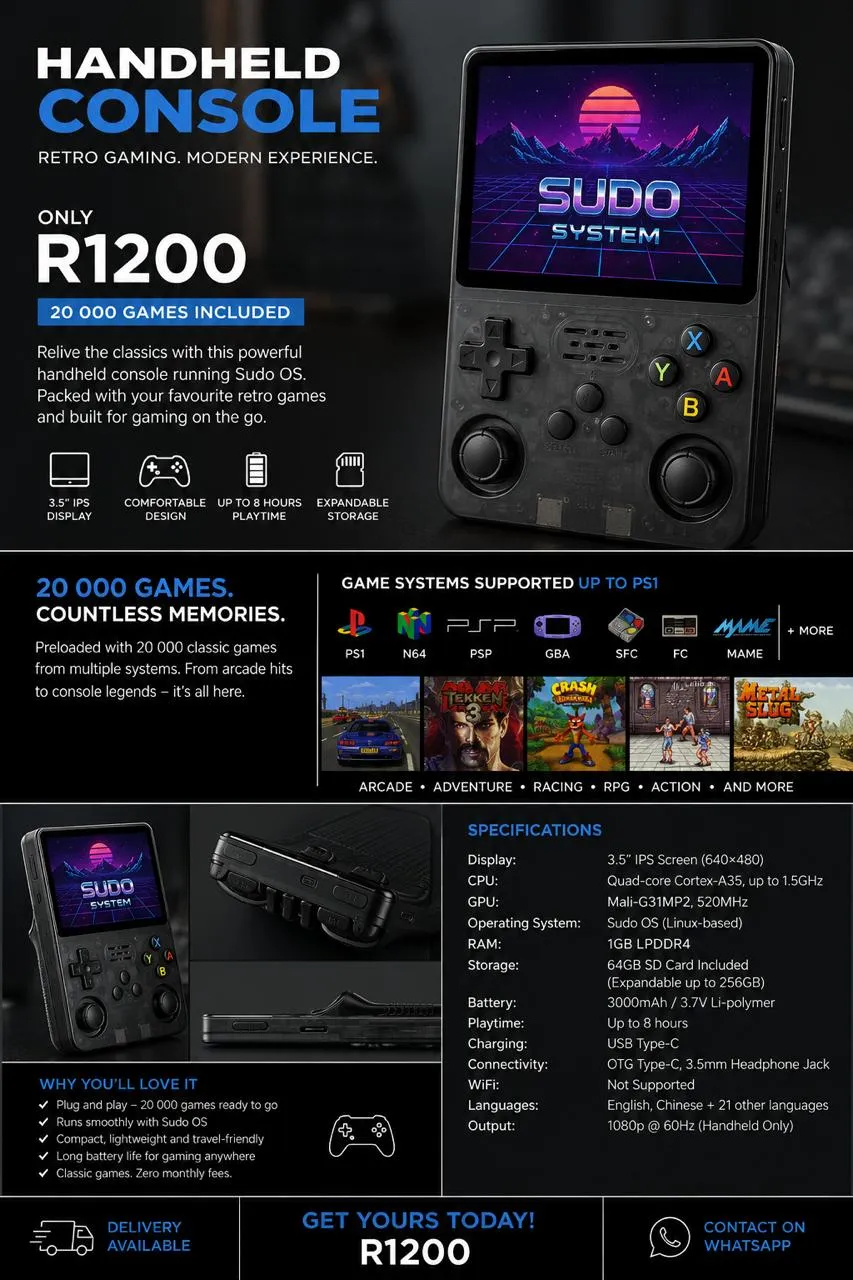 Made to order
SudoOS Handheld — Vertical
Hand-built vertical console with SudoOS — free games card included
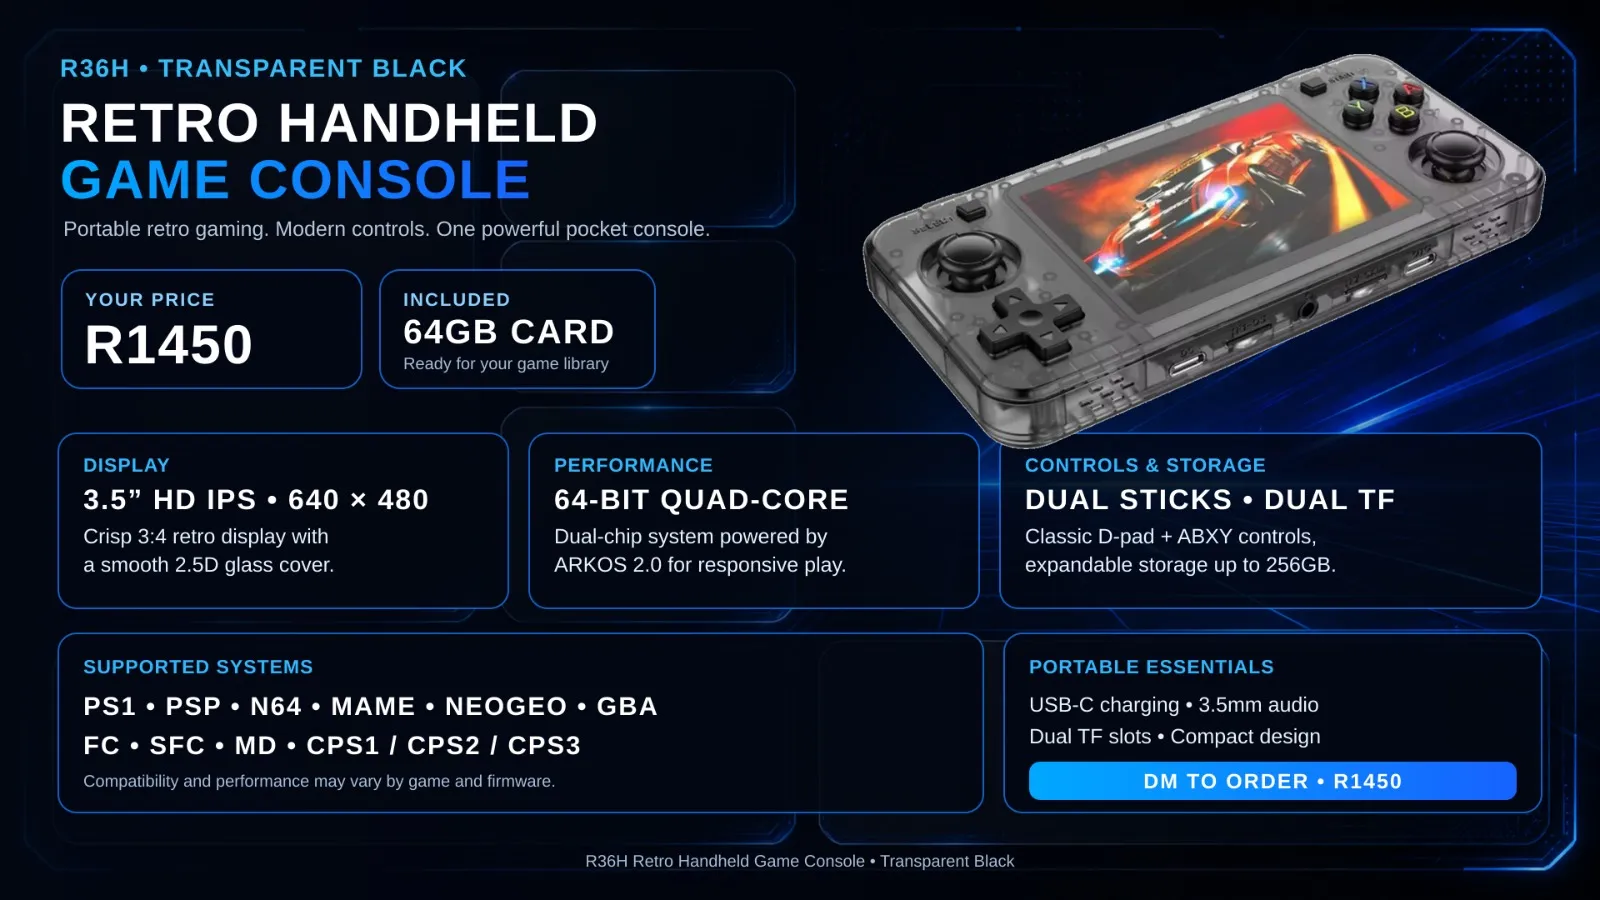 Made to order
SudoOS Handheld — Horizontal
Hand-built horizontal console with SudoOS — free games card included
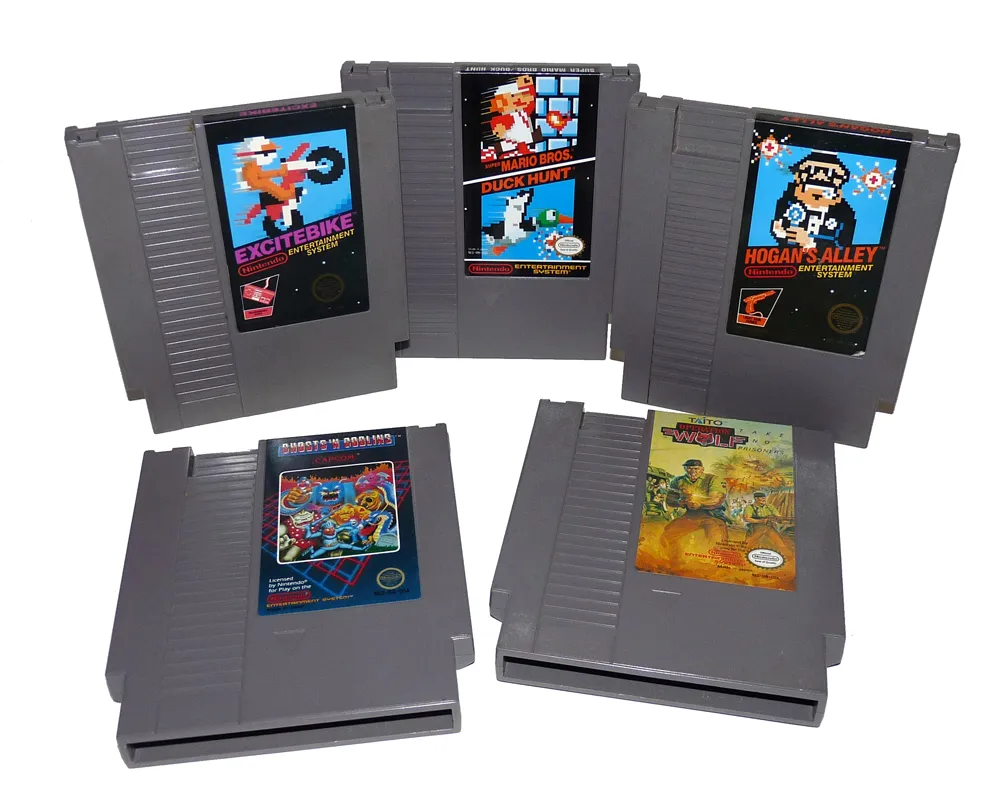 In stock
SudoOS SD Card
A games card for your handheld, ready to boot
$ ./read-next
Emulators on iPhone: Delta, ROMs and Getting Started
The complete beginner setup for emulating retro consoles on your iPhone with Delta — install, side-load-free on the App Store, import ROMs and play.
intermediatePokémon in 3D on Android: Gen1Recomp + VoxelMod
Play Pokémon Red, Blue and Yellow natively in 3D on Android with Gen1Recomp — import your ROM, add the VoxelMod, and get the 3D camera working.
intermediateBuild a Batocera Console: EmulationStation on a Drive, Boot Any PC
Turn a USB flash drive or hard drive into a retro console with Batocera — flash it, add your ROMs, boot it on any laptop or PC, and theme it properly.